Mumbai Airport WiFi: Free Login, OTP & No-SIM Options
How to connect to free Mumbai airport WiFi, get a password with ID if you have no Indian SIM, find kiosks, and decide when a SIM or eSIM is better.
On this page
Last updated November 2026: Mumbai airport wifi is free, and you join it through the #MumbaiAirportWiFi network. Your login route depends on whether your phone can receive an SMS, and this guide covers both routes, the help desks and when a SIM or eSIM is the better call. For the wider picture of the terminals, start with our 7 Things to Know About Mumbai Airport (BOM).
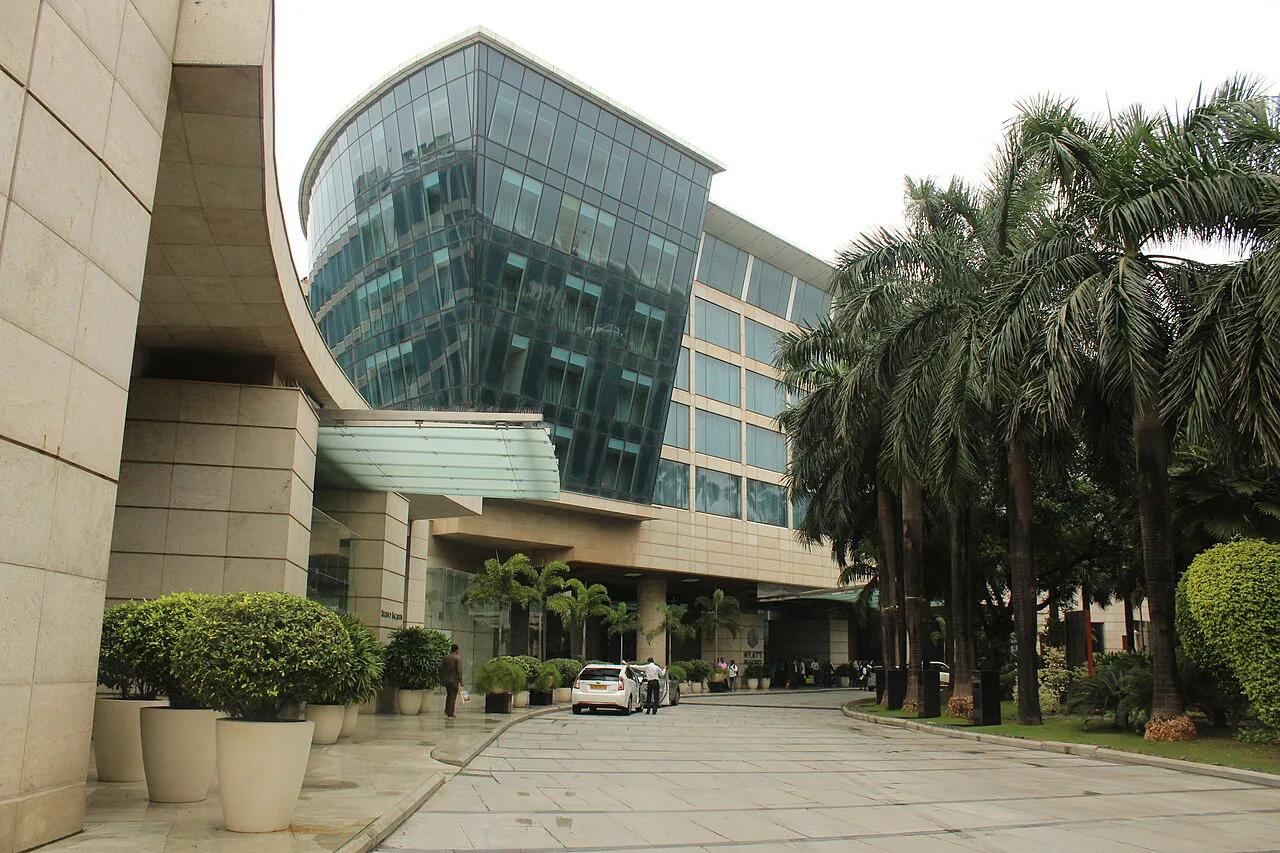
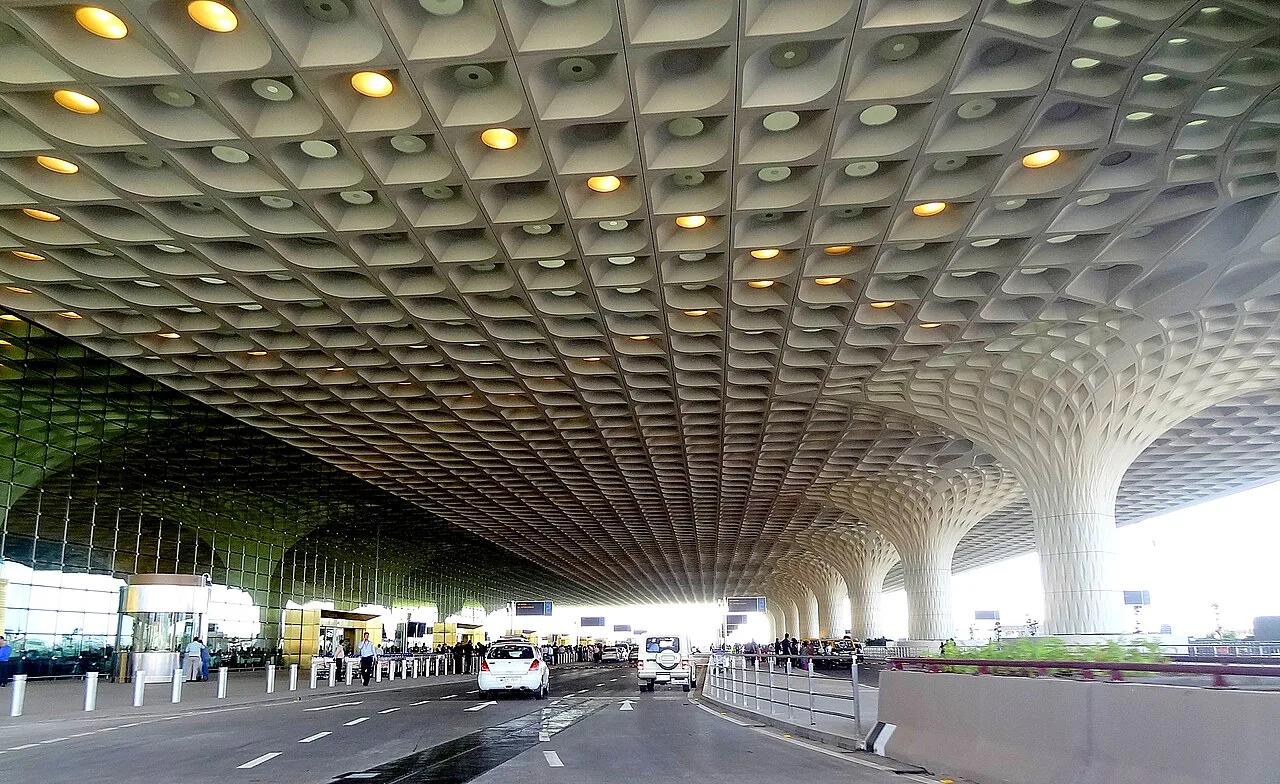
Featured image: Prateek Karandikar, CC BY-SA 4.0, via Wikimedia Commons.
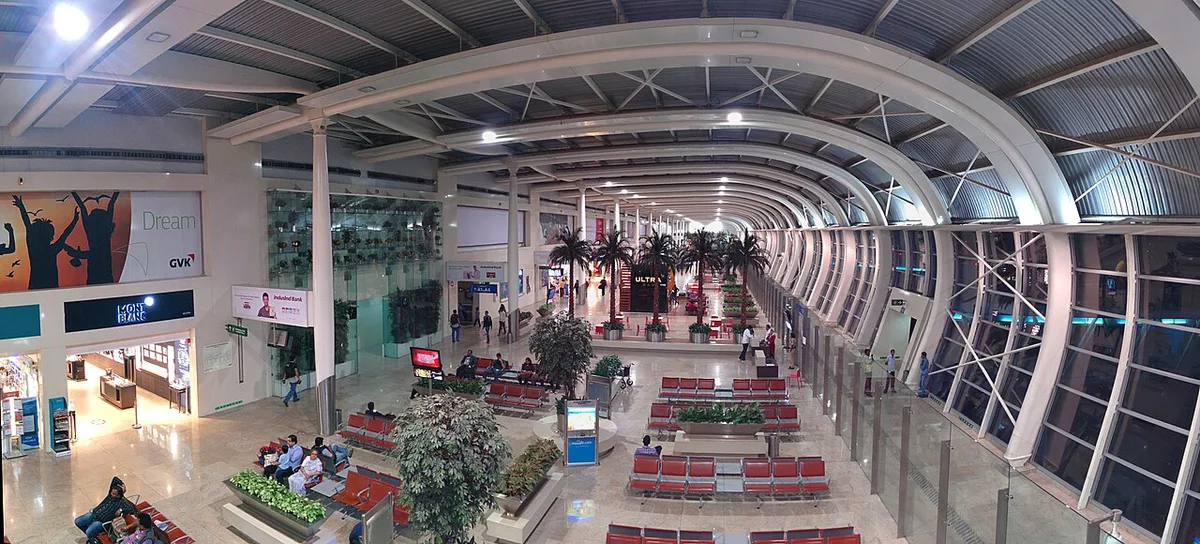
How to Connect to Mumbai Airport WiFi, Step by Step
Connecting takes three moves. Open the Wi-Fi settings on your phone or laptop and pick #MumbaiAirportWiFi. Next, open a browser such as Safari or Chrome and type any website address. That sends you to a login page, where you enter a password from one of two routes. Both routes give unlimited free access, according to the airport operator's Wi-Fi page.
- Open Wi-Fi settings and select #MumbaiAirportWiFi.
- Open a browser and enter any website address to reach the login page.
- Choose the SMS OTP route or the ID-and-password route.
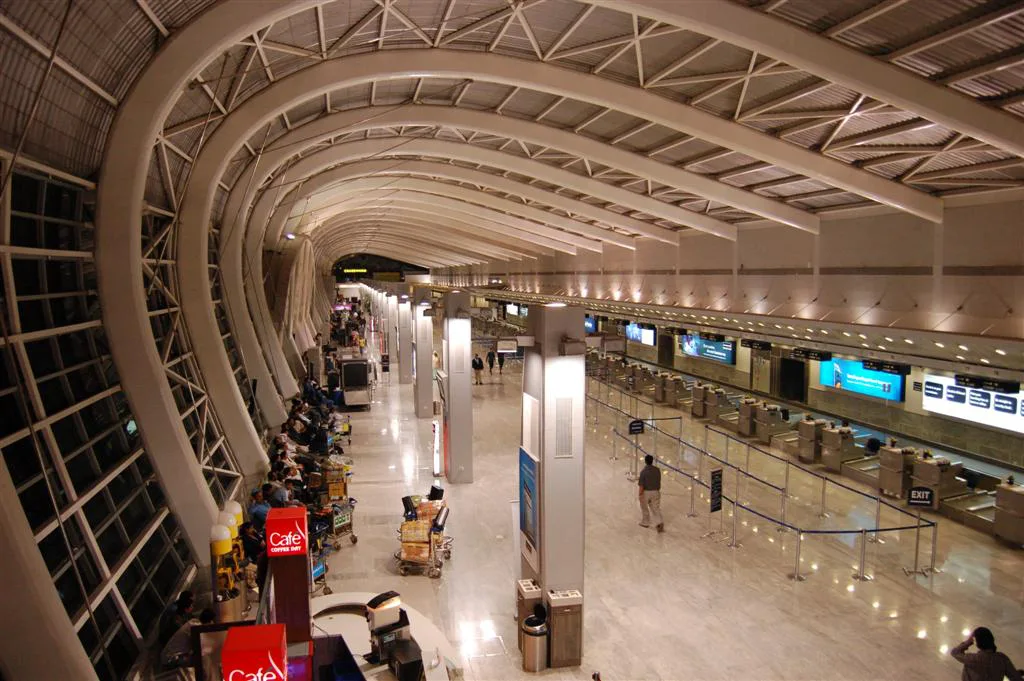
Log In With an SMS OTP
Enter a local or international mobile number on the login page. An SMS with a one-time password follows. Type that code in and you can start browsing. Your number must be active and able to receive text messages. If roaming is switched off on your home SIM, the code will not arrive. In that case, use the ID route below. A wrong country code is another common reason for a silent login.
No Local SIM or Roaming? Get a Password With ID
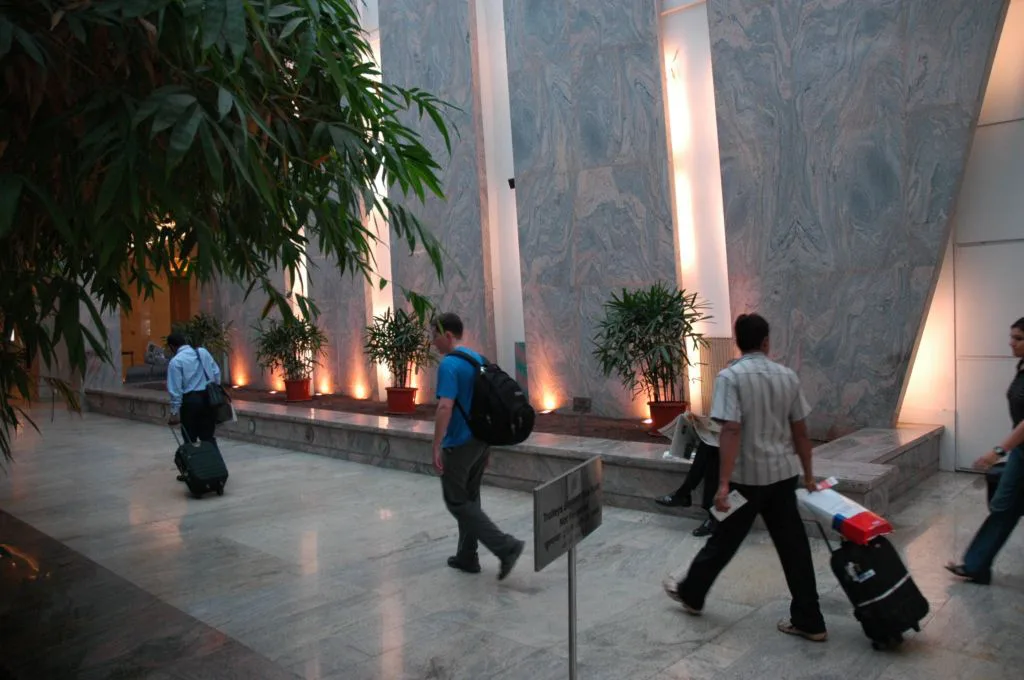
Travelers without a SIM or international roaming can skip the SMS step. Go to an information desk or a Wi-Fi kiosk and show valid ID. International passengers present a passport. Domestic passengers can show a driving license, PAN card or Aadhaar card. After verification, staff give you a password. Select #MumbaiAirportWiFi again, enter it and browse. ID checks are a mandatory Department of Telecommunications requirement. Keep your passport in your carry-on, not in checked baggage. Desks mean queue time, so a working SMS route is faster when you have one.
Without roaming, the desk is your only login route. Domestic passengers find kiosks near boarding gates 42 and 50 on Level 3.
Where to Find a WiFi Kiosk or Help Desk
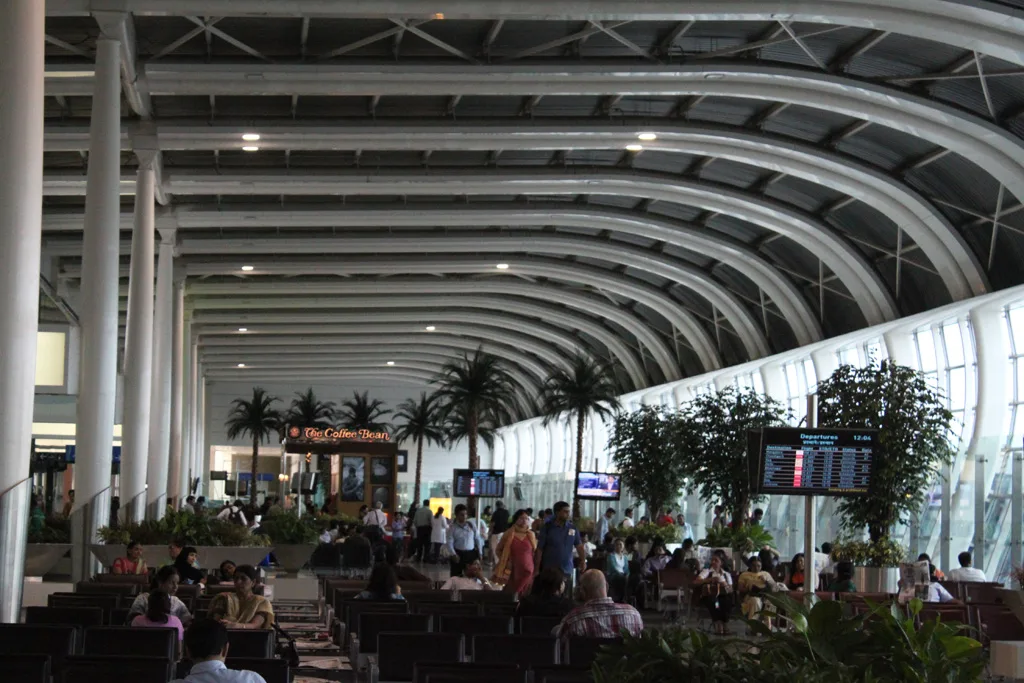
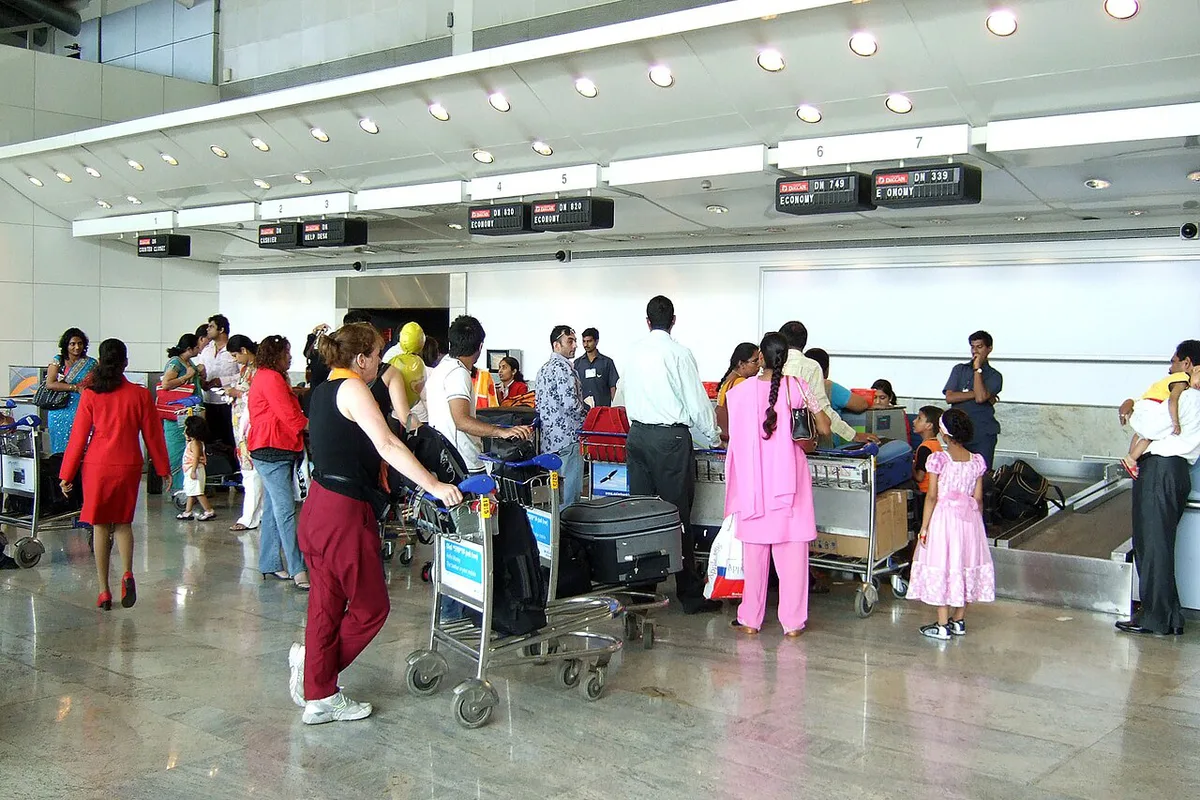
Kiosks are spread over four levels. On Level 2 Arrival, look near the Gate B meeter and greeter area. An international information desk sits near belt 8, and Terminal 2 also lists an international arrivals desk between belts 8-9. Domestic passengers find kiosks near boarding gates 42 and 50 on Level 3. Level 4 departures have desks near gates 3 and 4. International departures list gates 48, 74 and 67, plus the transit area. Gate positions shift over time, so match them against signage and our Mumbai Airport Map: Terminals, Layout and Transfers.
| Level | Where to look |
|---|---|
| Level 2 Arrival | Near Gate B meeter and greeter area; international information desk near belt 8 |
| Level 3 Domestic | Near boarding gates 42 and 50; Level 3 information desk |
| Level 4 Departure | Information desks near departure gates 3 and 4 |
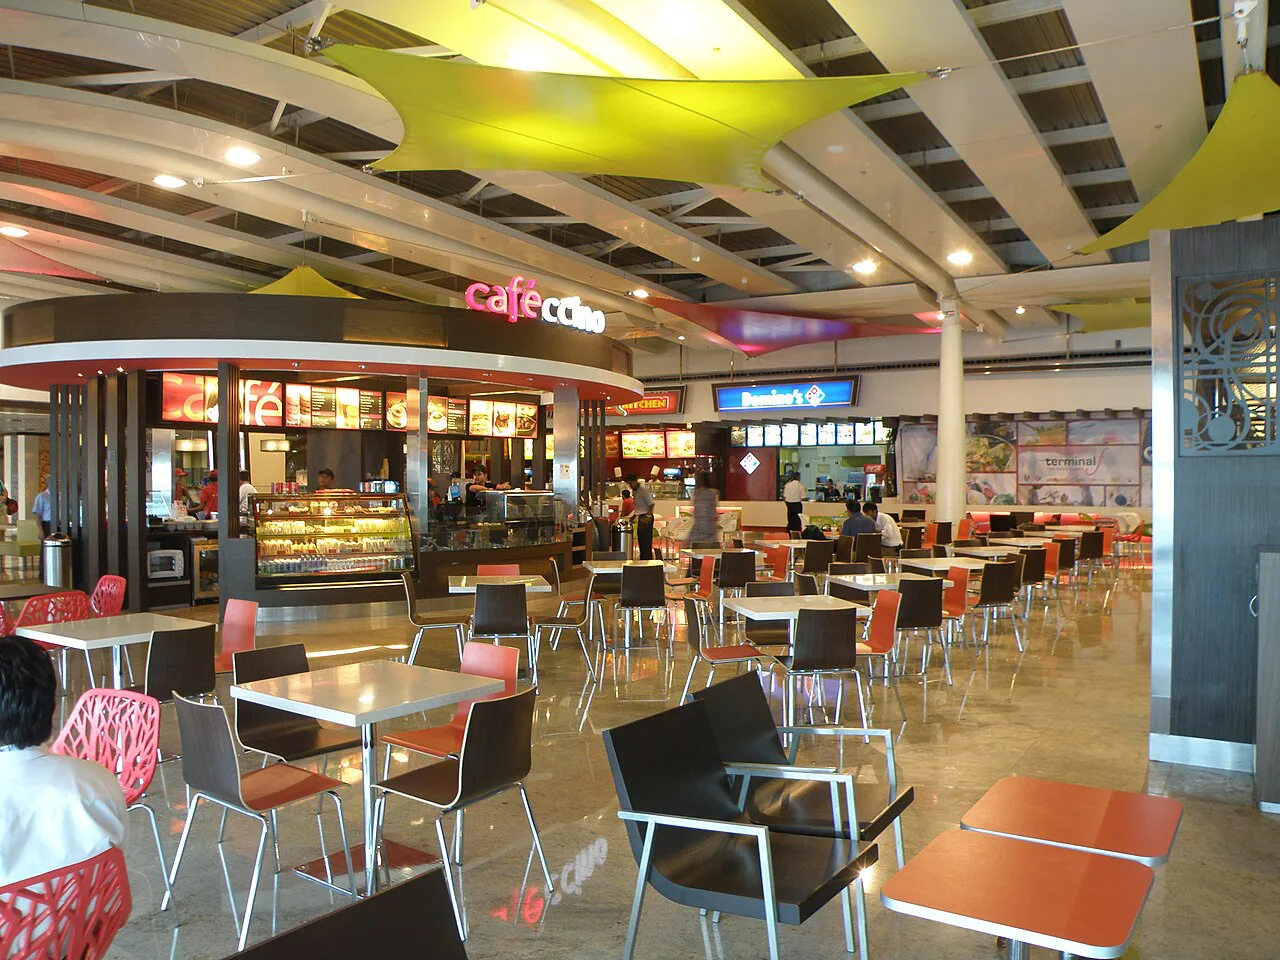
| Level 4 International | Near boarding gates 48, 74 and 67; transit area; opposite the food court; information desk after departure immigration |
Which Route Fits You?
Pick the route by what your phone can do right now. If it can receive an SMS, use the OTP route and skip the desk. If it cannot, carry your ID to a kiosk. If you need data after leaving the terminal, airport Wi-Fi will not follow you outside.
| Your situation | What you need | Where to go | Trade-off |
|---|---|---|---|
| Phone can receive SMS | Active mobile number | Login page, no desk visit | Fastest; fails if roaming is off |
| No SIM or roaming | Passport, or Indian ID for domestic passengers | Information desk or Wi-Fi kiosk | Queue time at the desk |
| Need data after the airport | SIM or eSIM | Set up before or after landing | Separate cost; not covered by airport Wi-Fi |
WiFi vs SIM vs eSIM: When Airport WiFi Isn't Enough
Airport Wi-Fi covers the terminal only. Once you step out, ride apps, maps and hotel messages need mobile data. App-based cabs at Terminal 2 use set pick-up points. Uber Go and Uber Premier pick up at Multi-level car park P6 East. Uber Black and Uber XL use Level-2 Arrival west at P6. Prepaid taxi counters sit in the arrival area, and metered auto rickshaws wait at both terminals. Our Mumbai airport taxi guide covers the options in detail. By rail, Vile Parle (East) serves the domestic terminals and Andheri (East) serves the international terminal. BEST Route 321 goes to Vile Parle (East) and Route 308 to Andheri (East). The Aqua Line (Metro 3) has stations named CSMIA Airport T1 and CSMIA Airport T2, and Marol Naka on Line 1 is the Line 1 station the operator calls closest to Terminal 2. Plan your onward leg with the Mumbai airport train guide. An eSIM can be installed before you fly, so data is live on arrival if your phone is unlocked and supports it. A physical SIM needs a stop and paperwork. SIM purchase rules for foreign visitors come from telecom regulators and carriers, so read your chosen carrier's current terms first. On a layover, Wi-Fi alone is usually enough. Our transit hotel guide covers longer waits. The lounge guide covers quieter places to work, and the airport food guide lists cafés for a long session.
Troubleshooting and Mistakes to Avoid

These are general tips, not official guidance. Most failures come from the login page not loading or an OTP that never arrives. Work through the fixes in order before heading to a desk. Hotel check-ins are easier when you can message ahead, so see the Mumbai airport hotels guide if you are staying nearby.
- No login page appears: toggle airplane mode, reopen the browser and try a plain http address.
- OTP does not arrive: check roaming and the country code, then retry or switch to the ID route.
- Password rejected: re-enter it carefully, or ask the desk to reissue it.
- Connected but no internet: forget the network, rejoin and reload the login page.
- Mistake: leaving your ID in checked baggage.
- Mistake: assuming the kiosk nearest your gate is staffed.
- Mistake: logging into banking apps on open Wi-Fi without a VPN.
- Mistake: relying on Wi-Fi alone for a ride booking or UPI payment on arrival.
Visitors who want a physical SIM can compare plans on carrier sites such as Airtel.
Notes for your next connection
Optional updates when our airport guides change.
You might also like

Continue reading
More guides you'll find useful